Introduction
Welcome to the OwnID Developer Portal
Integrating with the OwnID platform provides your web customers with password-free access to your online products & services anywhere along their digital journey by simply unlocking their device the same way they already do with their face or fingerprint.
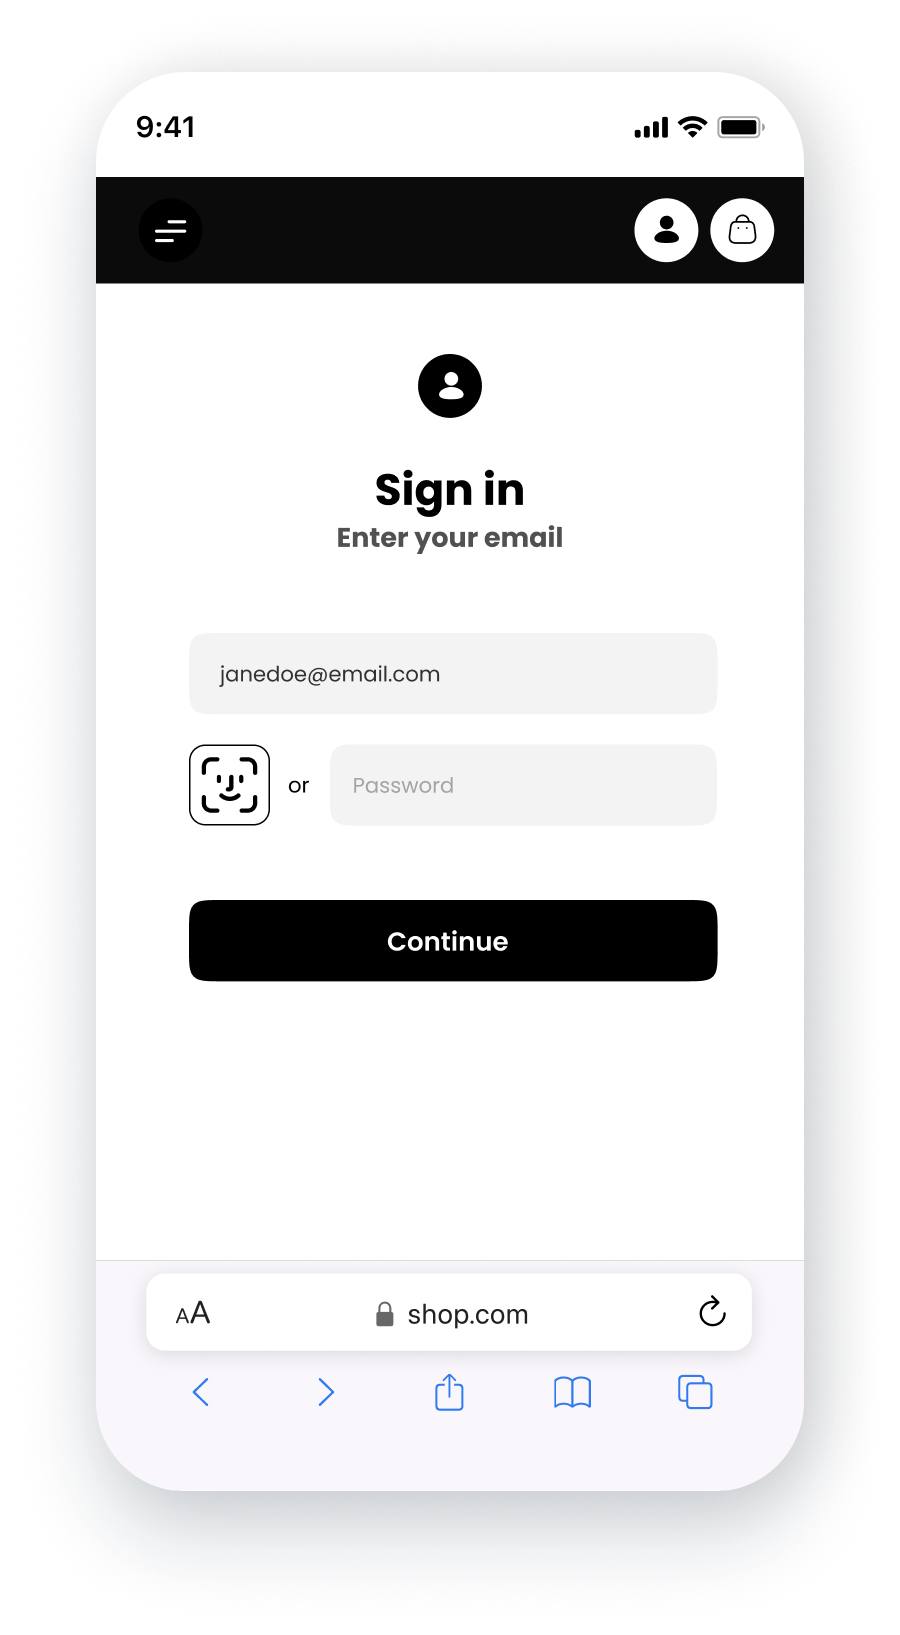 Figure 1. OwnID login widget
How does it work?
To enable biometric authentication, OwnID provides frontend and backend components that allow you to integrate our services with your existing .
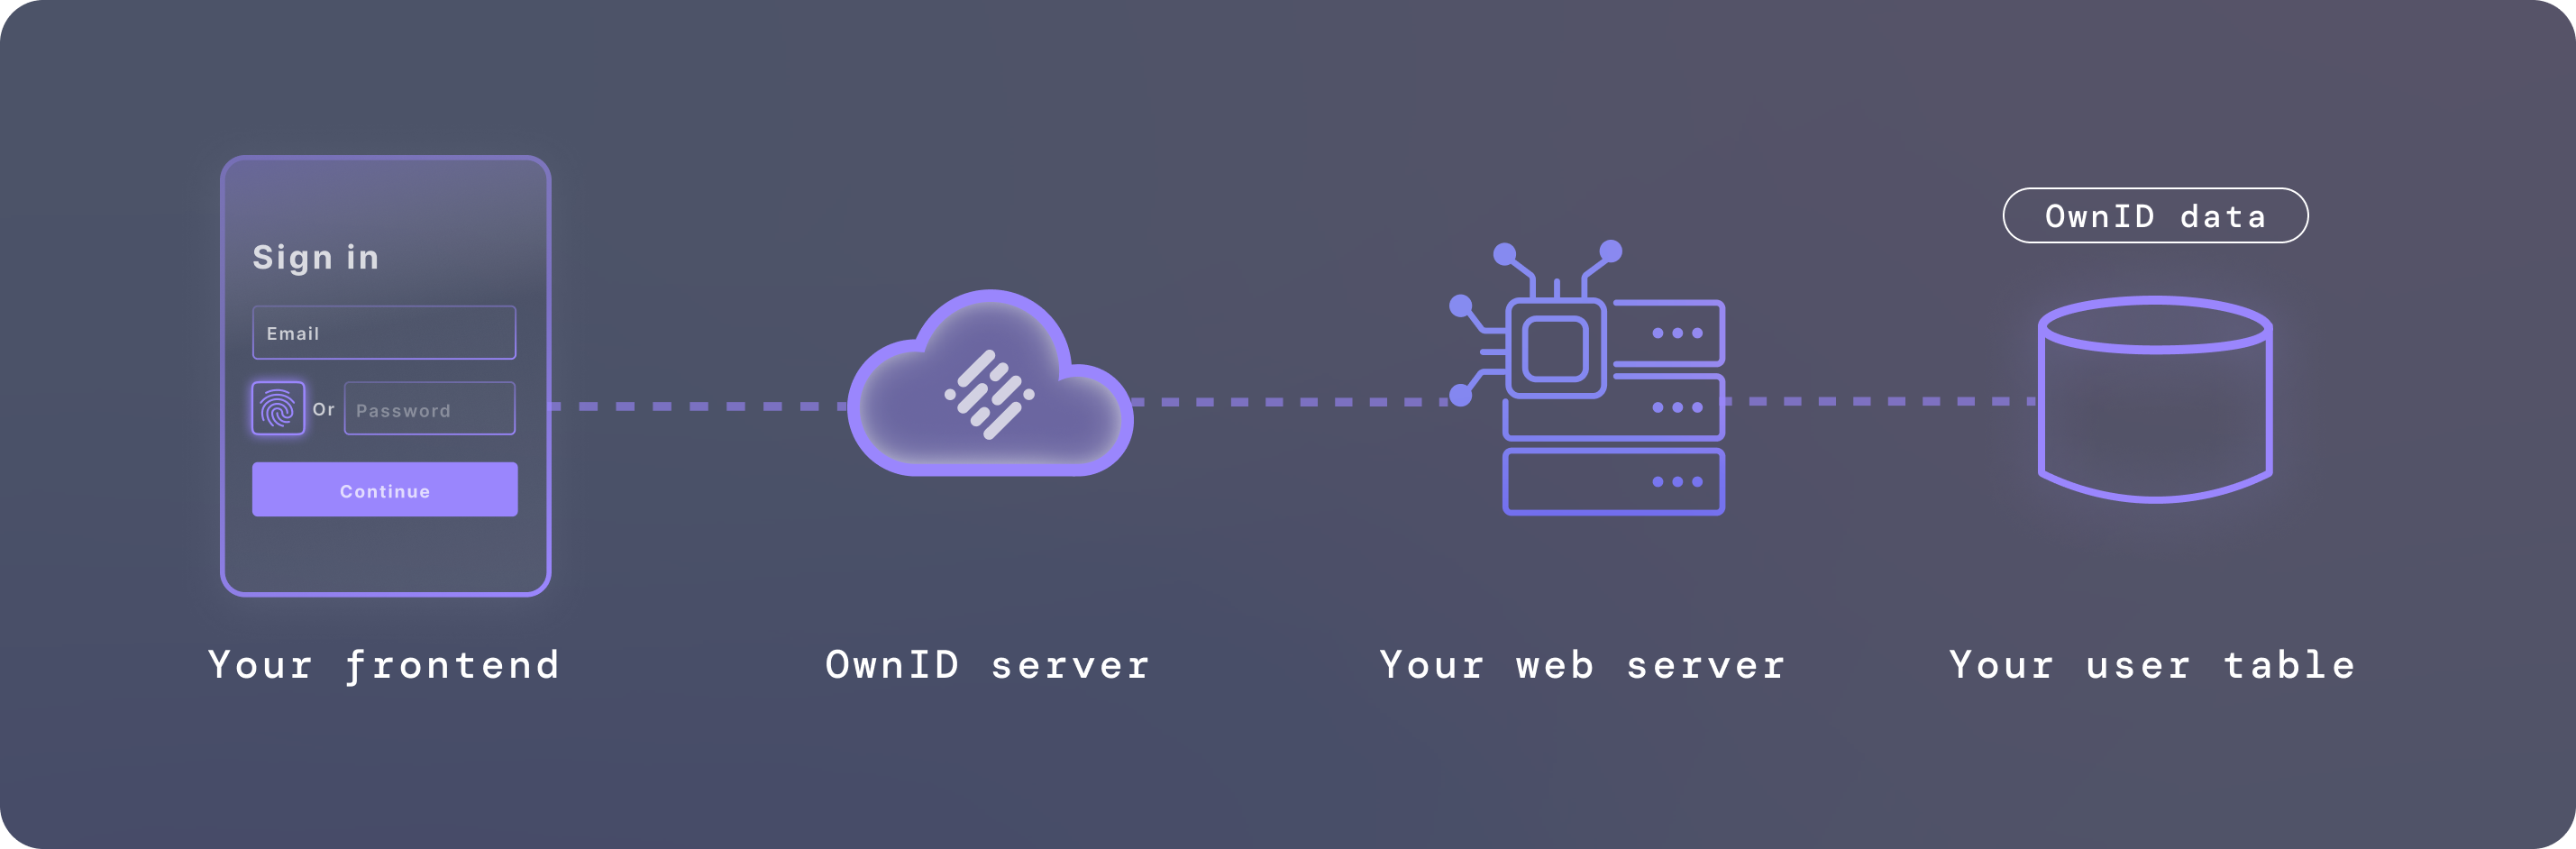 Figure 2. Major components and connectivity
Two ways to integrate: Connectors or SDK
You have two distinct integration options:
- Connectors - Low-code/no-code integrations for specific .
- SDK - OwnID’s Web SDK for your frontend.
Our connectors are prebuilt, low-code integrations to selected identity providers.
If a connector isn’t available for your specific identity provider, the SDK provides an integration path with even greater flexibility, customization, and control.
Ready to get started with either option? Head over to the Quickstart page.
Learn more
To learn more, see our explainers and other resources:
Was this page helpful?