> ## Documentation Index
> Fetch the complete documentation index at: https://docs.ownid.com/llms.txt
> Use this file to discover all available pages before exploring further.
# Adobe Commerce Cloud
> Integrate OwnID into Adobe Commerce in minutes
export const connector_name_0 = "Adobe Commerce Cloud"
By integrating OwnID with Adobe Commerce Cloud (Magento), you can simplify and streamline the login experience for your customers and deploy the full set of OwnID features throughout your users' journeys.
## How it Works
Integration with Adobe Commerce Cloud (ACC) starts with the OwnID ACC Connector and a new no-code OwnID App you create in the Console.
 ## Install the Connector
The OwnID ACC Connector is available for free in the Adobe Commerce [marketplace](https://commercemarketplace.adobe.com/ownid-connector.html).
Add the connector to your cart and follow the instructions on the site.
## Create an OwnID App
An OwnID App is what connects the existing identity provider used by your website with the OwnID widget you insert on the front end.
## Install the Connector
The OwnID ACC Connector is available for free in the Adobe Commerce [marketplace](https://commercemarketplace.adobe.com/ownid-connector.html).
Add the connector to your cart and follow the instructions on the site.
## Create an OwnID App
An OwnID App is what connects the existing identity provider used by your website with the OwnID widget you insert on the front end.
 OwnID widget
Each of your OwnID Apps acts as the central point of configuration for each of your integrations. These no-code Apps are created, hosted, and maintained entirely within the OwnID Console environment.
When you create an App, it's assigned a unique `appId` automatically. Use that `appId` in OwnID SDK interaction from your website’s front end.
#### To Create an OwnID App
1. Login to the [OwnID Console](https://console.ownid.com) (or create your account).
2. Click **+Create Application** from the Apps screen.
3. Enter a name for your application in the *App name* field.
4. From the *Choose your integration* panel, select the *{connector_name_0}* tile.
OwnID widget
Each of your OwnID Apps acts as the central point of configuration for each of your integrations. These no-code Apps are created, hosted, and maintained entirely within the OwnID Console environment.
When you create an App, it's assigned a unique `appId` automatically. Use that `appId` in OwnID SDK interaction from your website’s front end.
#### To Create an OwnID App
1. Login to the [OwnID Console](https://console.ownid.com) (or create your account).
2. Click **+Create Application** from the Apps screen.
3. Enter a name for your application in the *App name* field.
4. From the *Choose your integration* panel, select the *{connector_name_0}* tile. 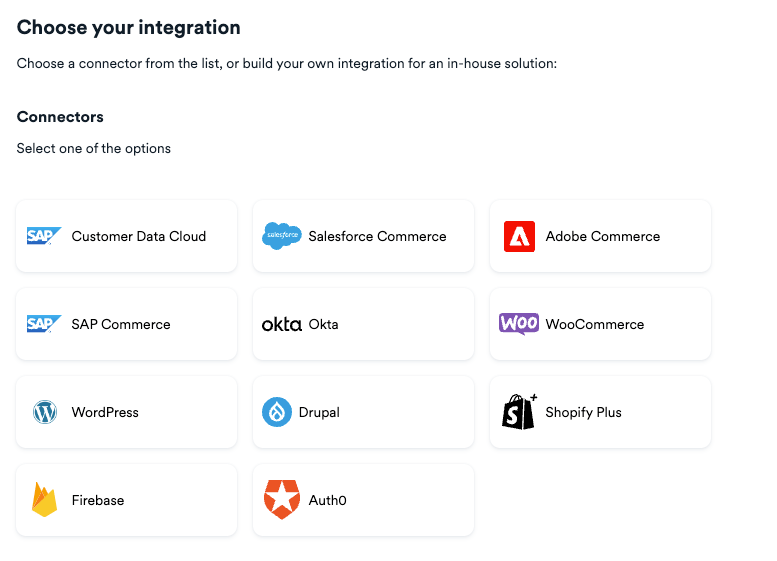 5. Click **Next**.
6. Enter the website URL to your *{connector_name_0}* application instance and click **Continue**.
7. Click **Explore my App** on the "Congratulations" popup.
5. Click **Next**.
6. Enter the website URL to your *{connector_name_0}* application instance and click **Continue**.
7. Click **Explore my App** on the "Congratulations" popup. 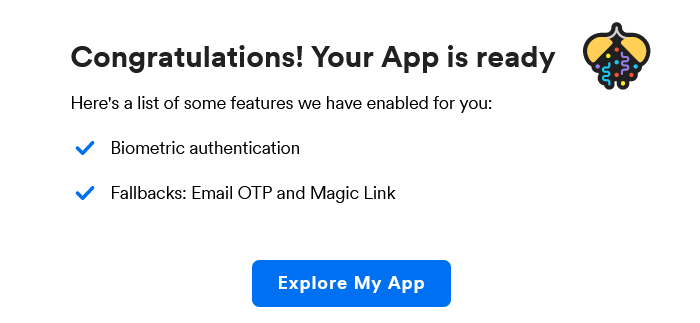 8. From the *OwnID Settings* panel, copy the *App ID* and the *Shared Secret* for use in configuration on the *{connector_name_0}* side.
  Your OwnID application and secret key are created and you're ready for next steps!
Copy and paste the **appID** and **shared secret** into the settings of the OwnID Adobe Commerce connector in your ACC instance.
**Securing User's Personal Data**
OwnID does not store or process any user data. Users' public keys and device information are stored on your platform.
Private keys are kept exclusively on the user's device and are never transmitted elsewhere.
## How to Run it Locally
Your OwnID application and secret key are created and you're ready for next steps!
Copy and paste the **appID** and **shared secret** into the settings of the OwnID Adobe Commerce connector in your ACC instance.
**Securing User's Personal Data**
OwnID does not store or process any user data. Users' public keys and device information are stored on your platform.
Private keys are kept exclusively on the user's device and are never transmitted elsewhere.
## How to Run it Locally
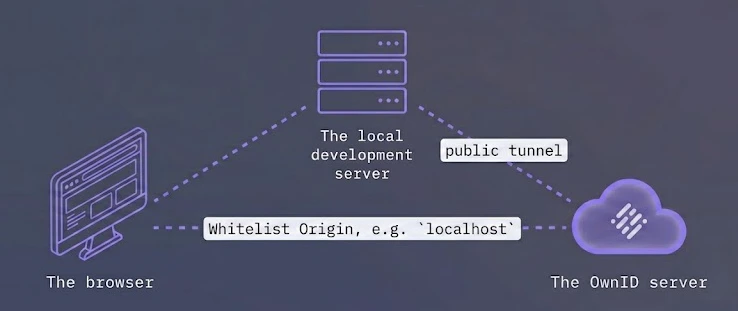 In the OwnID integration - the end-user accesses with their browser to both OwnID & your local development server.
In order to allow the communication we will need:
Whitelist the local origin domain, e.g. localhost
Allow the OwnID Server to reach your local development server.
To achieve this, we'll go to the OwnID Admin Console:
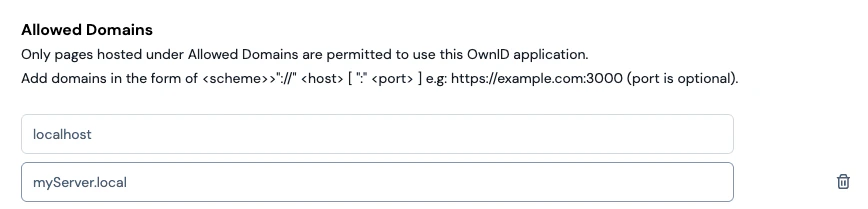
In the App's main page, add the local origin to the Allowed Domains
In the OwnID integration - the end-user accesses with their browser to both OwnID & your local development server.
In order to allow the communication we will need:
Whitelist the local origin domain, e.g. localhost
Allow the OwnID Server to reach your local development server.
To achieve this, we'll go to the OwnID Admin Console:
In the App's main page, add the local origin to the Allowed Domains
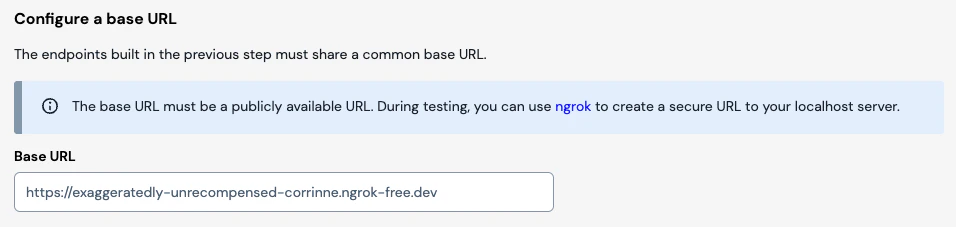
 In the App's Integration / backend, target the base URL to target a public tunnel that leads to the development server.
 ## Creating a Local Tunnel Using ngrok
1. Start your local server. It will run on port `3001`.
```bash theme={null}
node server.js
```
2. Start ngrok, targeting your server's port.
```bash theme={null}
ngrok http
```
Example:
```bash theme={null}
ngrok http 3001
```
## Next Steps
### Ready to deploy?
Take me to the Deployment Checklist
## Creating a Local Tunnel Using ngrok
1. Start your local server. It will run on port `3001`.
```bash theme={null}
node server.js
```
2. Start ngrok, targeting your server's port.
```bash theme={null}
ngrok http
```
Example:
```bash theme={null}
ngrok http 3001
```
## Next Steps
### Ready to deploy?
Take me to the Deployment Checklist