> ## Documentation Index
> Fetch the complete documentation index at: https://docs.ownid.com/llms.txt
> Use this file to discover all available pages before exploring further.
# Google Sign-In
> Integrate Google Sign-In into your OwnID authentication screens
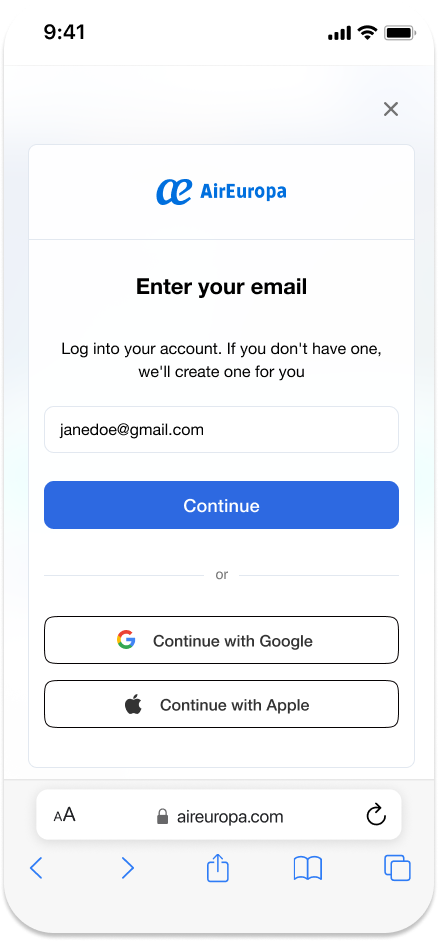 This guide walks you through the steps to set up Google Sign-In as an identity provider within the OwnID platform, offering a secure and frictionless login experience.
## Prerequisites
Before you begin, ensure you have the following:
* A Google Cloud account with access to the [Google Cloud Console](https://console.cloud.google.com/).
* An OwnID account and access to the [OwnID Console](https://console.ownid.com/).
## Step 1 - Create a Google OAuth Client ID
1. Go to [Google Cloud Console](https://console.cloud.google.com/auth/overview) and select your project (create one if needed).
2. Go to [Branding page](https://console.developers.google.com/auth/branding), make sure all of the information is complete and accurate.
3. Go to [Clients page](https://console.developers.google.com/auth/clients) and create a new client:
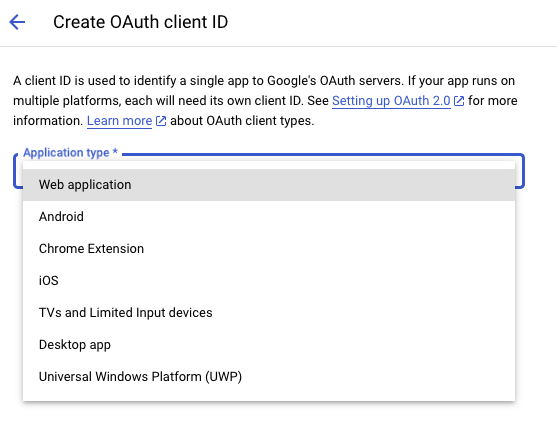
* Select Application Type `Web application`.
This guide walks you through the steps to set up Google Sign-In as an identity provider within the OwnID platform, offering a secure and frictionless login experience.
## Prerequisites
Before you begin, ensure you have the following:
* A Google Cloud account with access to the [Google Cloud Console](https://console.cloud.google.com/).
* An OwnID account and access to the [OwnID Console](https://console.ownid.com/).
## Step 1 - Create a Google OAuth Client ID
1. Go to [Google Cloud Console](https://console.cloud.google.com/auth/overview) and select your project (create one if needed).
2. Go to [Branding page](https://console.developers.google.com/auth/branding), make sure all of the information is complete and accurate.
3. Go to [Clients page](https://console.developers.google.com/auth/clients) and create a new client:
* Select Application Type `Web application`.
 * Give it a meaningful name.
* Leave *Authorized JavaScript origins* empty.
* In the *Authorized redirect URIs*, enter your [custom domain](/explore/custom-domain), followed by the path `/oidc/callback`, so for example `https://passwordless.acme.com/oidc/callback`. If a custom domain was not configured yet, you can enter `https://passwordless.ownid.com/oidc/callback`.
* Click **Create**.
* Save the created `Client ID` and `Client Secret` values, you will use them later in this guide.
**Optional: Native Apps Integration**
If you're building a native Android or iOS app, you'll need to create additional clients:
* **iOS** - Create a separate OAuth 2.0 Client ID with Application type set to iOS and specify your app's `bundle ID` and `team ID`.
* **Android** - Create a separate OAuth 2.0 Client ID with Application type set to Android in the Google Cloud Console. Provide your app's `package name` and `SHA-1 fingerprint`.
## Step 2 - Configure Google Credentials in OwnID
Go to the OwnID console, `Authentication` > `Social Providers`:
* Toggle on `Google Sign in`.
* Give it a meaningful name.
* Leave *Authorized JavaScript origins* empty.
* In the *Authorized redirect URIs*, enter your [custom domain](/explore/custom-domain), followed by the path `/oidc/callback`, so for example `https://passwordless.acme.com/oidc/callback`. If a custom domain was not configured yet, you can enter `https://passwordless.ownid.com/oidc/callback`.
* Click **Create**.
* Save the created `Client ID` and `Client Secret` values, you will use them later in this guide.
**Optional: Native Apps Integration**
If you're building a native Android or iOS app, you'll need to create additional clients:
* **iOS** - Create a separate OAuth 2.0 Client ID with Application type set to iOS and specify your app's `bundle ID` and `team ID`.
* **Android** - Create a separate OAuth 2.0 Client ID with Application type set to Android in the Google Cloud Console. Provide your app's `package name` and `SHA-1 fingerprint`.
## Step 2 - Configure Google Credentials in OwnID
Go to the OwnID console, `Authentication` > `Social Providers`:
* Toggle on `Google Sign in`.
 By default, OwnID testing credentials are provided, but they are strictly for development use only. Follow this tutorial to configure your own Google credentials for production.
* Click **configure** and enter the following values in the modal:
By default, OwnID testing credentials are provided, but they are strictly for development use only. Follow this tutorial to configure your own Google credentials for production.
* Click **configure** and enter the following values in the modal:
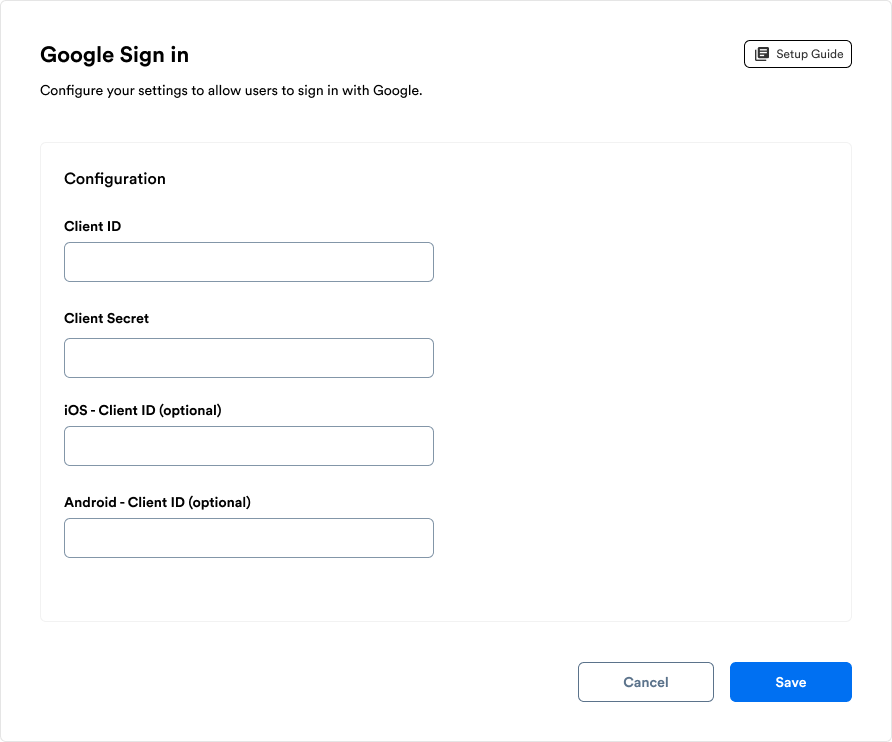 * **Client ID** - enter the value from `Web application` client.
* **Client Secret** - enter the value from `Web application` client.
* **iOS - Client Secret** - enter the value from `Android` client. (optional)
* **Android - Client Secret** - enter the value from `iOS` client. (optional)
* **Save** your configurations.
* **Client ID** - enter the value from `Web application` client.
* **Client Secret** - enter the value from `Web application` client.
* **iOS - Client Secret** - enter the value from `Android` client. (optional)
* **Android - Client Secret** - enter the value from `iOS` client. (optional)
* **Save** your configurations.