

How it Works
Integration with Adobe Commerce Cloud (ACC) starts with the OwnID ACC Connector and a new no-code OwnID App you create in the Console.
Install the Connector
The OwnID ACC Connector is available for free in the Adobe Commerce marketplace. Add the connector to your cart and follow the instructions on the site.Create an OwnID App
An OwnID App is what connects the existing identity provider used by your website with the OwnID widget you insert on the front end.
appId automatically. Use that appId in OwnID SDK interaction from your website’s front end.
To Create an OwnID App
- Login to the OwnID Console (or create your account).
- Click +Create Application from the Apps screen.
- Enter a name for your application in the App name field.
-
From the Choose your integration panel, select the tile.
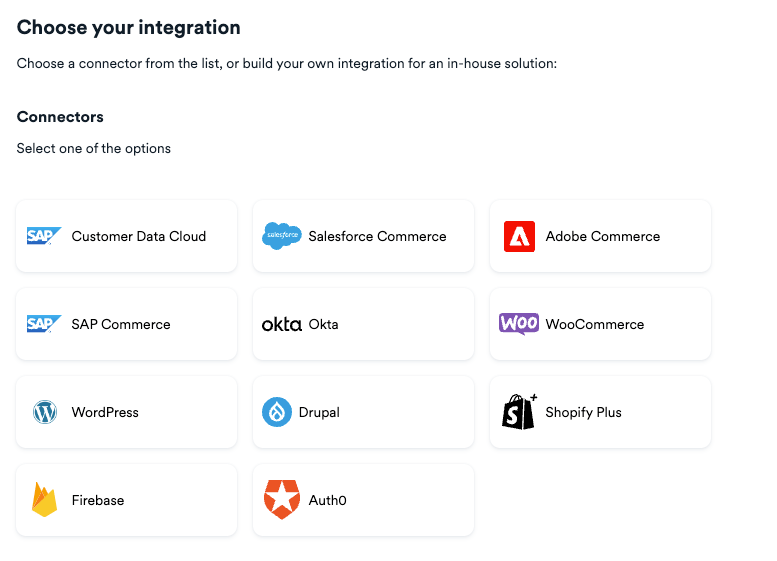
- Click Next.
- Enter the website URL to your application instance and click Continue.
-
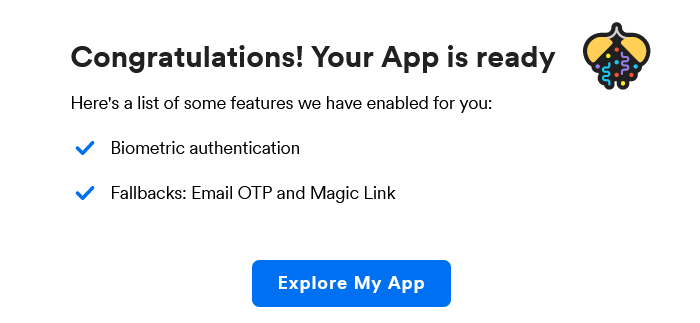
Click Explore my App on the “Congratulations” popup.
-
From the OwnID Settings panel, copy the App ID and the Shared Secret for use in configuration on the side.

Your OwnID application and secret key are created and you’re ready for next steps!
Securing User’s Personal DataOwnID does not store or process any user data. Users’ public keys and device information are stored on your platform.Private keys are kept exclusively on the user’s device and are never transmitted elsewhere.
How to Run it Locally
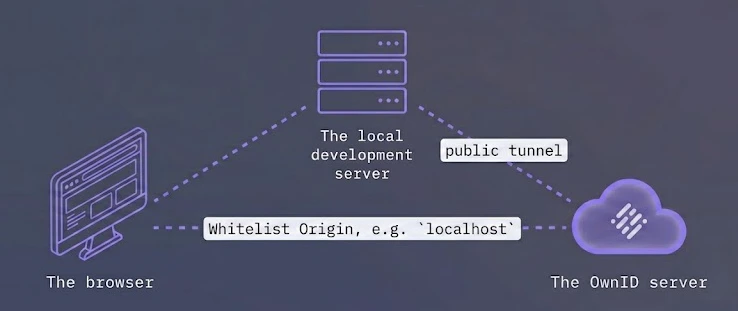
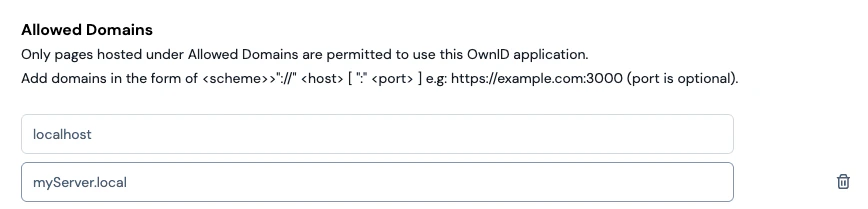
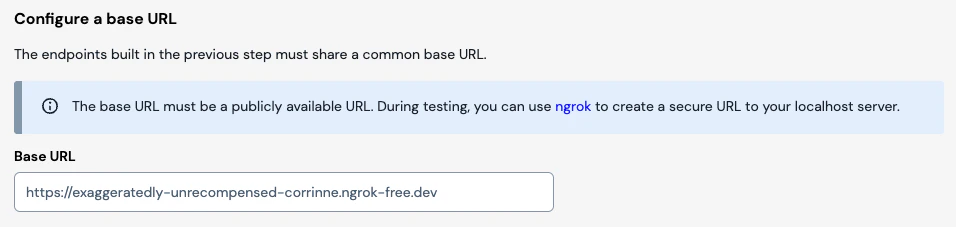
Creating a Local Tunnel Using ngrok
-
Start your local server. It will run on port
3001. -
Start ngrok, targeting your server’s port.
Example:
Next Steps
Ready to deploy?
YES!
Take me to the Deployment Checklist