How it Works

Install the OwnID Plugin for WordPress
To download and install the OwnID plugin, access the official WordPress plugin page, or search for it directly in theWordPress > Plugins admin menu of your WordPress instance.
Configuration Steps
An OwnID App is what connects the existing identity provider used by your website with the OwnID widget you insert on the front end.
appId automatically. Use that appId in OwnID SDK interaction from your website’s front end.
To Create an OwnID App
- Login to the OwnID Console (or create your account).
- Click +Create Application from the Apps screen.
- Enter a name for your application in the App name field.
-
From the Choose your integration panel, select the tile.

- Click Next.
- Enter the website URL to your application instance and click Continue.
-
Click Explore my App on the “Congratulations” popup.

-
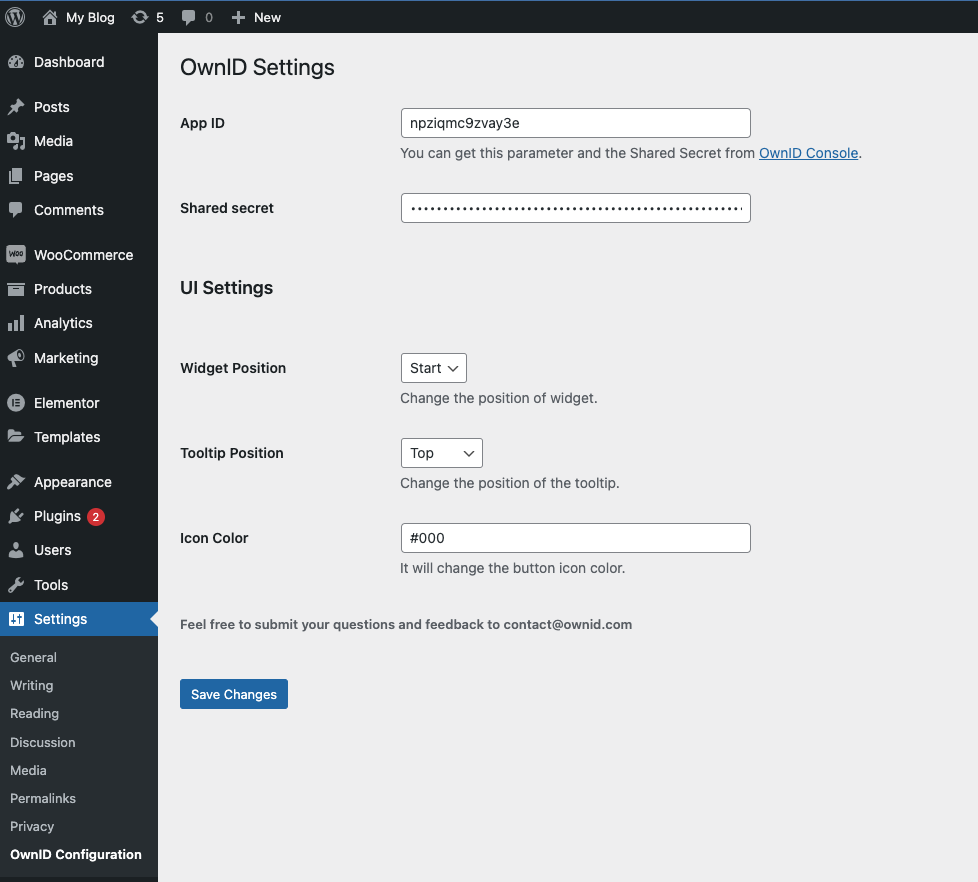
From the OwnID Settings panel, copy the App ID and the Shared Secret for use in configuration on the side.

Your OwnID application and secret key are created and you’re ready for next steps!
Congratulations!
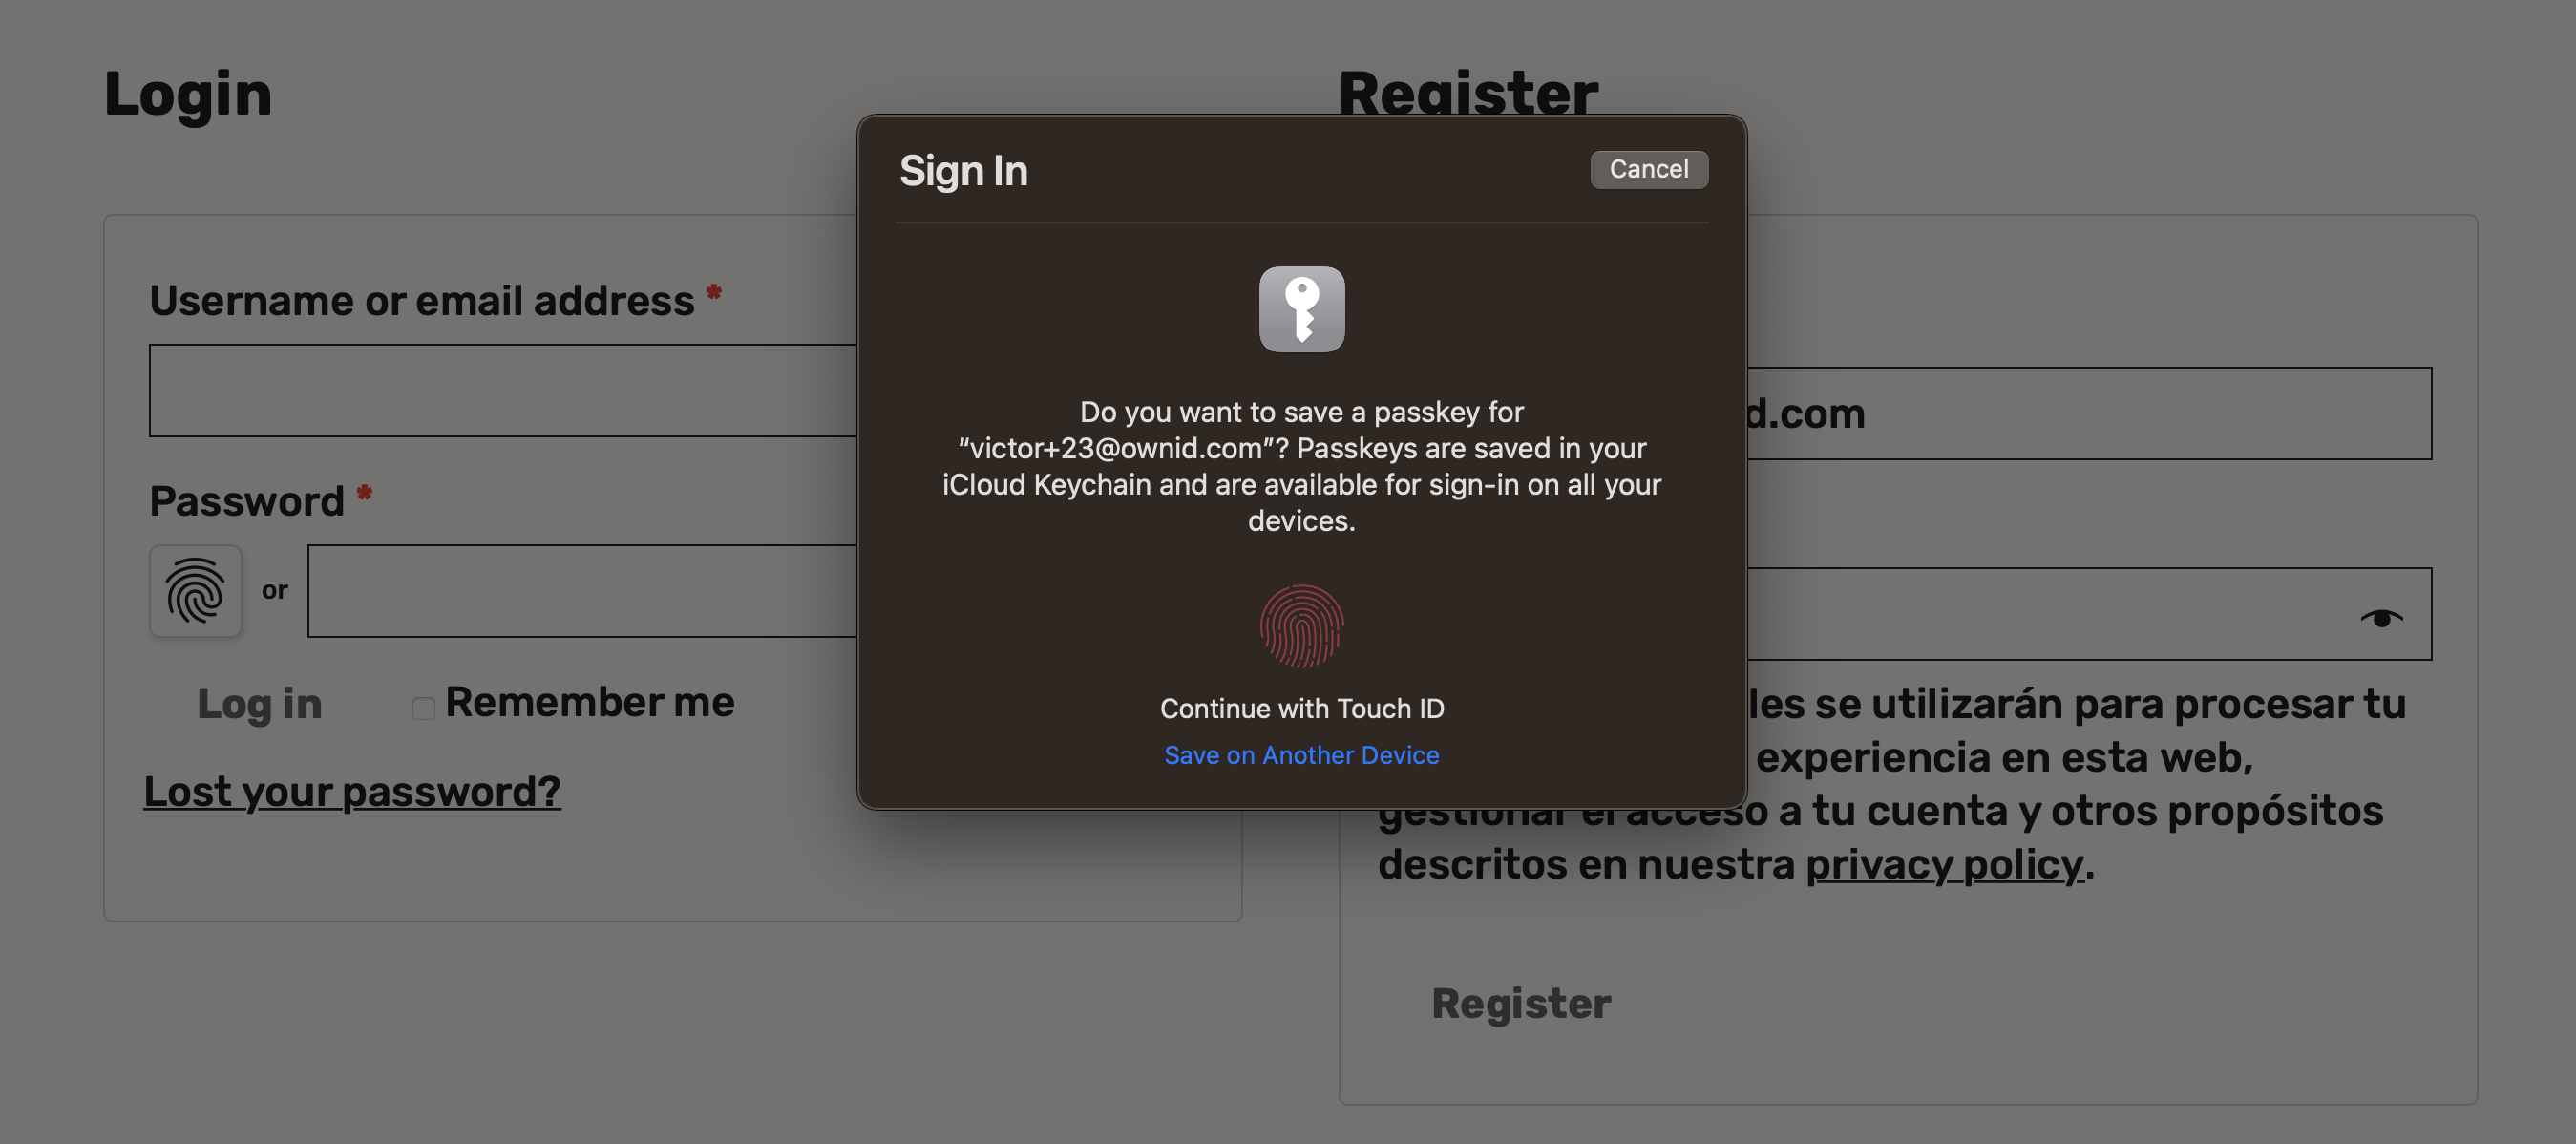
Enjoy your WordPress-integrated passwordless authentication!
Enjoy your WordPress-integrated passwordless authentication!
Next Steps
Ready to deploy?
YES!
Take me to the Deployment Checklist