Prerequisites
Before you begin, ensure you have the following:- A Google Cloud account with access to the Google Cloud Console.
- An OwnID account and access to the OwnID Console.
Step 1 - Create a Google OAuth Client ID
- Go to Google Cloud Console and select your project (create one if needed).
- Go to Branding page, make sure all of the information is complete and accurate.
-
Go to Clients page and create a new client:
- Select Application Type
Web application.
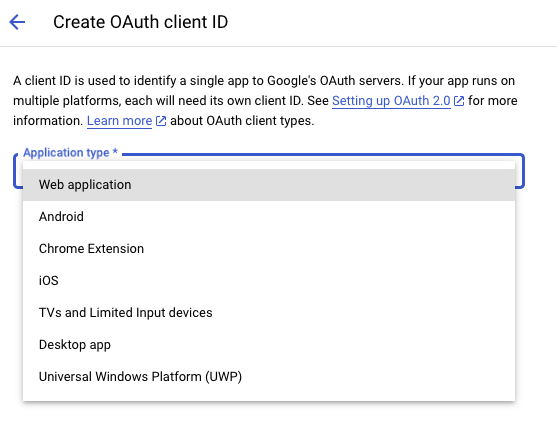
- Give it a meaningful name.
- Leave Authorized JavaScript origins empty.
- In the Authorized redirect URIs, enter your custom domain, followed by the path
/oidc/callback, so for examplehttps://passwordless.acme.com/oidc/callback. If a custom domain was not configured yet, you can enterhttps://passwordless.ownid.com/oidc/callback. - Click Create.
- Save the created
Client IDandClient Secretvalues, you will use them later in this guide.
- Select Application Type
- iOS - Create a separate OAuth 2.0 Client ID with Application type set to iOS and specify your app’s
bundle IDandteam ID. - Android - Create a separate OAuth 2.0 Client ID with Application type set to Android in the Google Cloud Console. Provide your app’s
package nameandSHA-1 fingerprint.
Step 2 - Configure Google Credentials in OwnID
Go to the OwnID console,Authentication > Social Providers:
-
Toggle on
Google Sign in.
By default, OwnID testing credentials are provided, but they are strictly for development use only. Follow this tutorial to configure your own Google credentials for production.
-
Click configure and enter the following values in the modal:
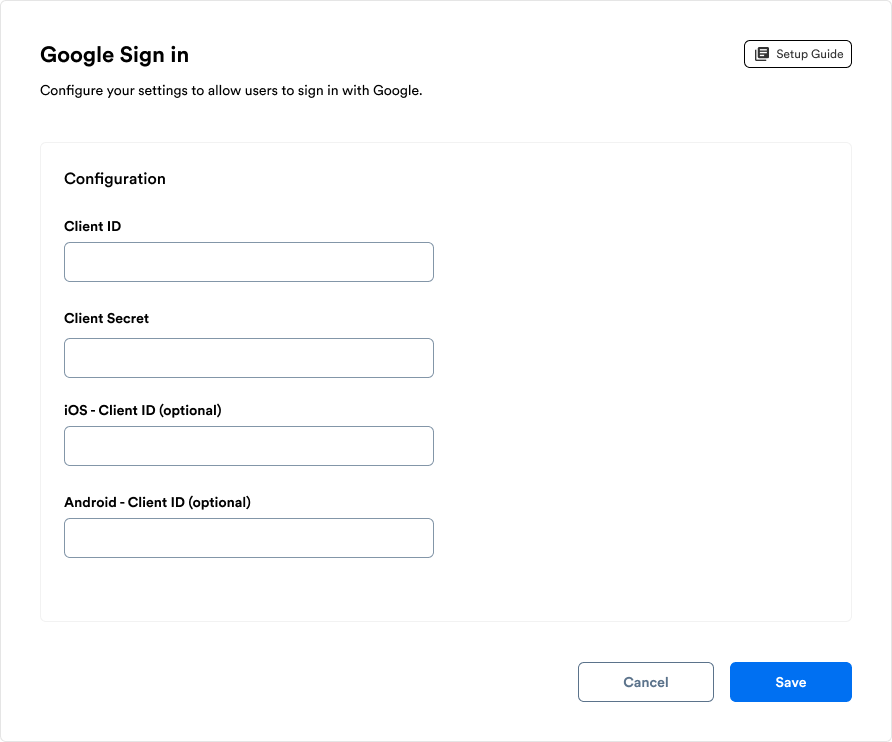
- Client ID - enter the value from
Web applicationclient. - Client Secret - enter the value from
Web applicationclient. - iOS - Client Secret - enter the value from
Androidclient. (optional) - Android - Client Secret - enter the value from
iOSclient. (optional)
- Client ID - enter the value from
- Save your configurations.