Prerequisites
Ensure you have the following ready before starting:- Node.js installed on your machine
- OwnID Application created via the OwnID Admin Console
- ngrok installed (Download here)
1
Project Initialization
Run these commands in your terminal to create the project structure:
2
The Backend (server.js)
Create a file named
server.js in your root folder. This contains the Handshake Endpoints and the Security Layer.server.js
3
The Frontend
Create these two files inside the
public folder.Replace
YOUR_APP_ID with the App ID from your OwnID Console.4
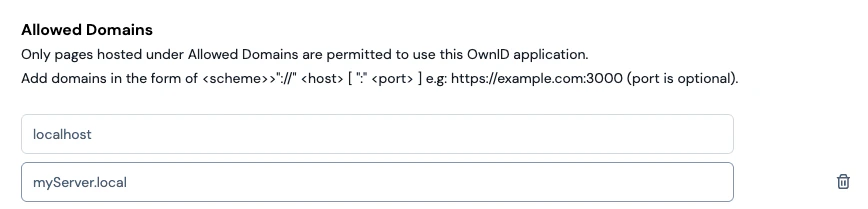
Running Locally
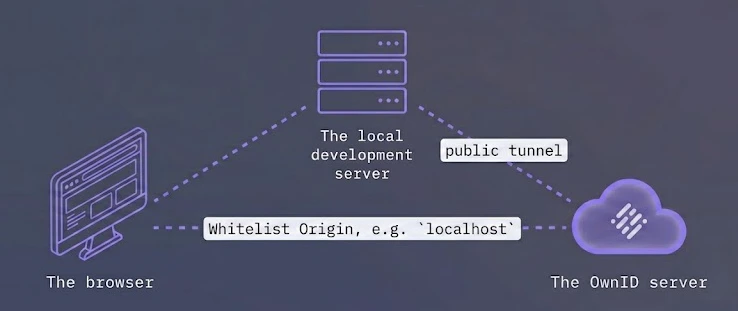
- Whitelist the local origin domain (e.g.,
localhost) - Allow the OwnID Server to reach your local development server.
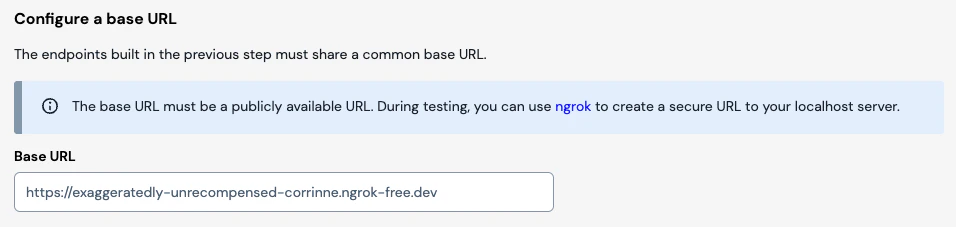
Creating a Local Tunnel Using ngrok
Start your local server. It will run on port3001.5
Verify the "Returning User" Flow
- Open your generated ngrok URL in an Incognito/Private window.
- Navigate to Create account, enter a new email, and complete the biometric enrollment.
- You will be automatically redirected to the Login page.
- Type the email you just registered and click outside of the input box.